Eagle-Eye-AI is a project designed for the Kria KR260 board that enables AI-driven camera tracking and face detection. The project integrates custom hardware and software, including a RS-485 PMOD module for camera rotator control and ROS2 nodes for real-time processing and communication. Follow our comprehensive guide on Hackster.io to build, test, and deploy the system, transforming your camera into an intelligent, autonomous tracking device.
-
Kria KR260 Board: Ensure that your KRIA™ KR260 board has the official Ubuntu image installed and Docker set up. The board should be prepared for running official demo applications from AMD, such as the Smartcam demo application.
-
IP Camera: You will need an IP camera that supports RTSP streaming with a resolution of 1920x1080. The camera should be connected to the same local network as the Kria board. A recommended camera is the SIMICAM 4k Video Cam or similar.
-
Pan-Tilt Rotator: A Pan-Tilt Camera Rotator that supports RS-485 and the Pelco-P/D protocol is required for rotating the camera. A recommended rotator is the PTZ Rotator.
-
RS-485 PMOD Module: Required for camera rotator control. The Camera Rotator should support the Pelco-D protocol for Pan-Tilt through RS-485 interface. The module can be found here.
-
Network Connection: Connect the Ethernet cable to your local network with DHCP enabled.
-
Clone the Repository:
git clone https://github.com/s59mz/eagle-eye-ai.git
cd eagle-eye-ai
-
Install the firmware binaries:
cp fpga-firmware/firmware-kr260-eagle-eye.deb /tmp
sudo apt install /tmp/firmware-kr260-eagle-eye.deb
-
Dynamically load the firmware package:
-
Switch to the kr260-eagle-eye platform:
sudo xmutil unloadapp
sudo xmutil loadapp kr260-eagle-eye
-
Show the list and status of available acceleration platforms:
sudo xmutil listapps
-
-
Disable the desktop environment:
sudo xmutil desktop_disable
-
Update the RTSP IP Camera URL:
Edit the
run_eagle_eye_ai.shscript file in thescriptsdirectory and update thedefault_camera_urlparameter:vi scripts/run_eagle_eye_ai.sh # Update line #18 with your IP camera URL: default_camera_url="rtsp://192.168.1.11:554/stream1"
-
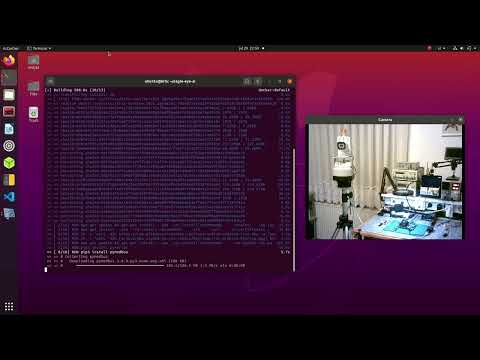
Build the Docker Image:
The build process will take about 8 minutes on the Kria board. This cannot be built on a host PC.
./build.sh
For a visual guide on building and installing the Eagle-Eye-AI application, watch this YouTube video.
-
Launch the Docker Image:
./run.sh
This will start the Eagle-Eye-AI Docker image in a new container:
root@xlnx-docker/# -
Optional: Run an Empty ROS2 Docker Image:
To test your own ROS2/GStreamer applications:
./ros2_humble_run.sh
-
Manage Docker Storage:
To remove the existing container if storage is limited:
docker rmi --force eagle-eye-ai
-
In the running Eagle-Eye-AI Docker container:
-
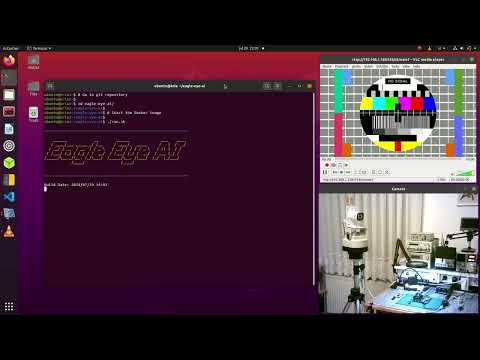
Launch the application:
./run_eagle_eye_ai.sh
You should see the camera’s captured images on the monitor connected to the board. When a face is detected, a blue box will appear around it, tracking the face as it moves. The camera rotator will also adjust to keep the detected face centered on the screen.
-
Press
Ctrl-Cto exit. -
To change the RTSP IP camera URL, run the startup script with the new URL:
./run_eagle_eye_ai.sh rtsp://192.168.1.20:554/stream2
For a visual guide on starting the Eagle-Eye-AI application, watch this YouTube video.
-
This project is licensed under the GPL-3.0. See the LICENSE file for details.
For further information or support, please refer to the project documentation on Hackster.io.