Instructions are also available in the wiki.
To create a Discord bot, head over to the Discord Developer Portal and get signed in. Once you’re there create a New Application

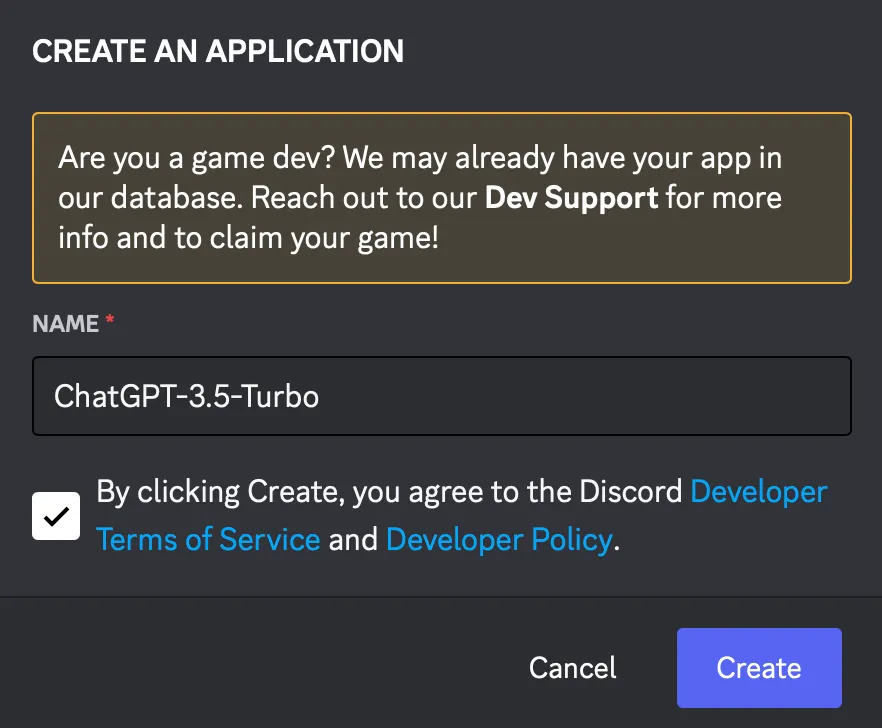
Give your Application a name, agree to the ToS and create
From here, you’ll select Bot from the navigation menu and then Add Bot

Once your bot is created, enable Message Content Intent

Now click the button to view your Bot’s token. Once you leave this screen, you won’t be able to view the token again so copy it and save it somewhere safe. I use 1Password.
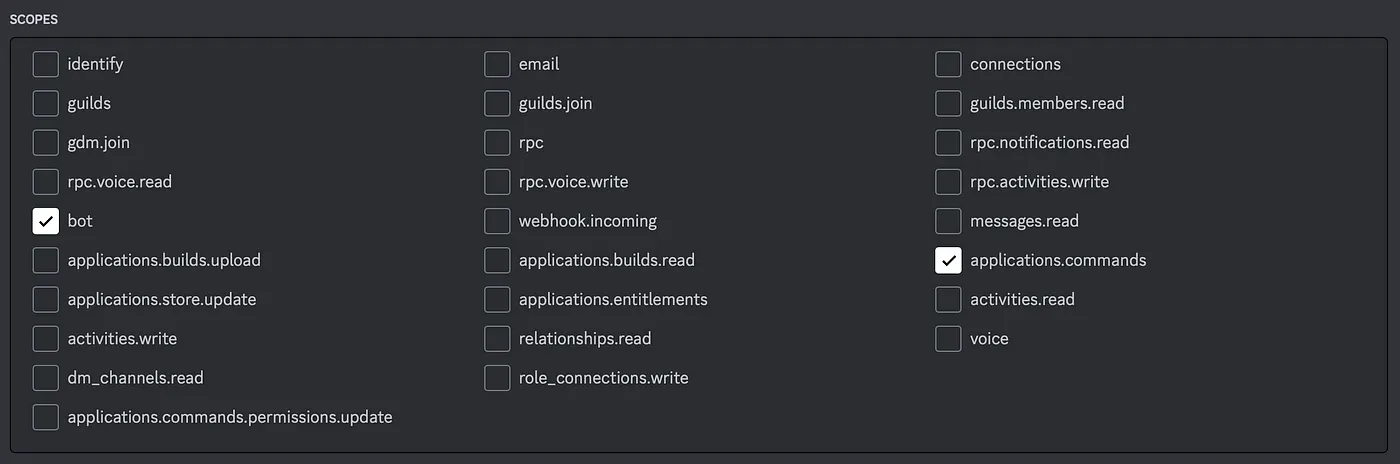
When you have your Bot token, expand OAuth2 in the navigation menu and go to the URL Generator. From here we will set the Bot’s permissions and add it to your Discord Server. To start, select Bot and applications.commands in the scopes section. Then the permissions selection area will be shown.
The required permissions for this Bot are:
General Permissions
- Read Messages/View Channels
Text Permissions
- Send Messages
- Send Messages in Threads
- Read Message History
- Mention Everyone
- Use Slash Commands
After selecting the correct permissions, a URL will be populated at the bottom of the page. Copy that URL and paste it into a new browser tab to allow the Bot to join your server.
Once the Bot has joined your server, give it permissions to whatever Channels you would like to use to interact with ChatGPT.
The setup on the OpenAI side of things is pretty simple. We just need to get an API key from our user profile. Go here to see your OpenAI API Keys. You’ll need to create a free account to get to this page if you don’t already have one.
Once you’re there, create a new Key and save it away somewhere safe again. (1Password)
You’ll need a computer to run the Bot from. This could really be anything, but in my case, I’ll use a dedicated Ubuntu Server so the bot can always stay online. But for testing purposes, you could totally do this right from your laptop.
If you don’t already have Docker installed where you plan to run this Bot, you can install Docker Desktop from here.
Since I’m using Ubuntu Server, I’ll be installing using one command in the Terminal.
sudo apt install docker.ioOnce you have Docker installed, you can run the bot container with the following command..(Get your API Key and Bot token ready)
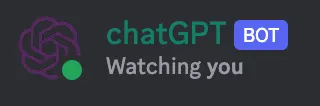
sudo docker run -d --name chatgpturbot --env DISCORD_BOT_TOKEN="discord-bot-api-key" --env OPENAI_API_KEY="openai-api-key" tylerplesetz/chatgpturbot:latestIf you did everything correctly, your bot should now be running and connected to Discord. You can validate this by going into a Discord Channel where you gave the Bot permission, and see that it is online
In that same channel, you can now use the /chat command to begin interacting with ChatGPT!